

Stone Splitting Methods
 Introduction
Numerous methods have been employed over the centuries for splitting stone into pieces. The length of time it took for the method and quality of the splitting varied considerably. The many different methods are discussed in detail in The Art of Splitting Stone (3rd Edition). This webpage will focus on the three major methods commonly encountered in northeastern U.S.
Blasting
The first use of gunpowder for blasting in mining is credited to Caspar Weindle at Schemnitz in 1627 (De Re Metallica, 1912 [1950] translation, see footnote on p. 119). Two different systems of blasting are mention as having been in use in British mines prior to 1700 (The Philosophical Transactions, and Collections to the End of the Year 1700, John Lowthorp, ed. 1722, vol. II, 367, 368). The first confirmed evidence of blasting in northeastern U.S. is found at the Nathaniel Hempsted House in New london, CT. This house was built in 1759. A partial cellar was created under the house by blasting the ledge. The stone from the blasted ledge was then hammered into small paving block size and used to build the house. A single surviving round drilled blast hole 1 inch in diameter and 8 inches in depth was found. Folk lore attributes the construction to French Acadians expelled from Nova Scotia. The French Encyclopedie by Diderot & D’Alembert (1751-1765) discusses blasting in mines, so, there may be some thread of truth to story.
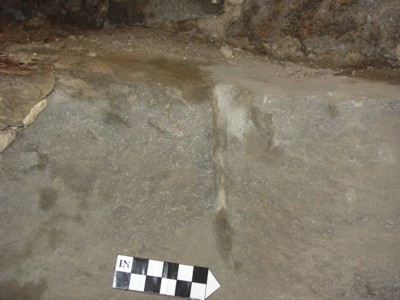
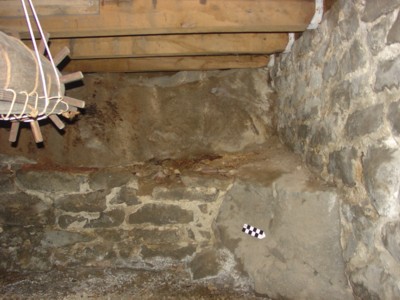
The oldest documented blast hole in the U.S. It dates from 1759 and is found in the
Nathaniel Hempsted House in New London, CT.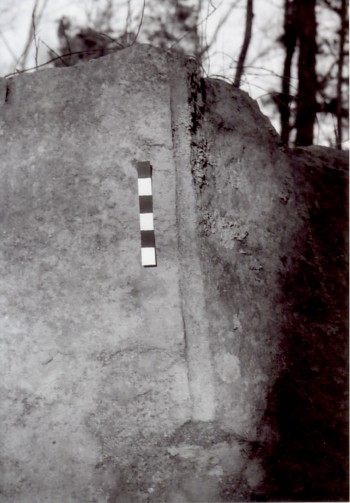
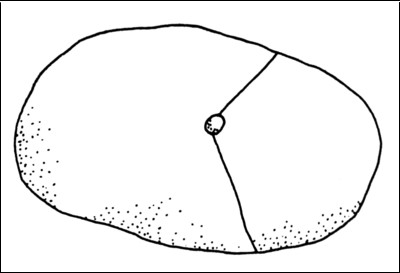
Blasting was used in commercial quarrying and it was also used by farmers from 1790 onward to break up boulders in the field. Blasting boulders generally involved drilling a single hole in the center of the boulder. 19th century boulder blast holes are usually 2 inches in diameter and range from 12 to 20 inches in depth. The blast generally creates a “V” split pattern in the boulder. The blast hole is found at the vertex of the “V”.
(Below) Top view of a blasted boulder
(Right) Typical 19th century blast hole in boulder
As the name implies this hole has three sides. Triangular holes were used primarily for blasting. The points of the hole helped to direct the force of the blast and therefore offered control over the direction of the fractures in the rock. The holes were drilled by using a common flat chisel bit which was rotated between hammer blows. The triangular points were byproduct of using a flat chisel bit. Currently there is very little dating information available on triangular holes. The few dated examples all come from the 1800’s.
 |
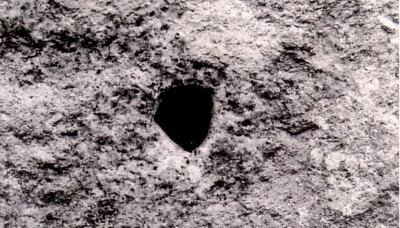
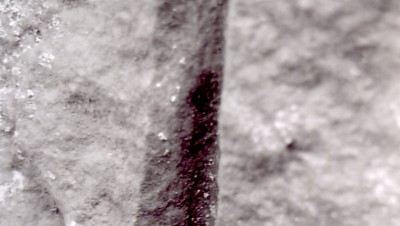
(Left) Top or cross-section view of a triangular hole. (Right) Longitudinal cross-section view of triangular hole
Plug & Feather Method
Plug & Feather - Farmer’s Version (circa 1774-1810)
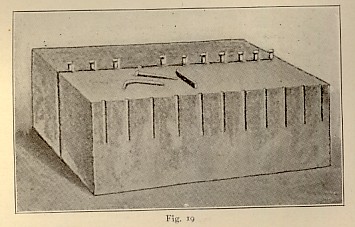
An early version of the plug & feather method. The method was an improvement over the blasting method as it often times produced pieces of stone with a flat face suitable for building with. Unlike later versions, the early plug & feather method used a maximum of 3 holes. A person drilled one, two or three round holes per boulder as he saw fit. These were generally small holes about one inch diameter and from two to four inches deep. Two half-round shims were placed in each hole and a metal wedge was placed between them. The shims were used to keep the wedge from hitting the bottom of the hole. When a wedge hit’s the bottom of a hole it often times flies out of the hole and becomes a very dangerous flying projectile. Once each hole was filled the shims and wedges, a person with a small hammer about three pounds in weight, hit each wedge until he heard a cracking sound. At that point he let the boulder finish splitting apart on it own.
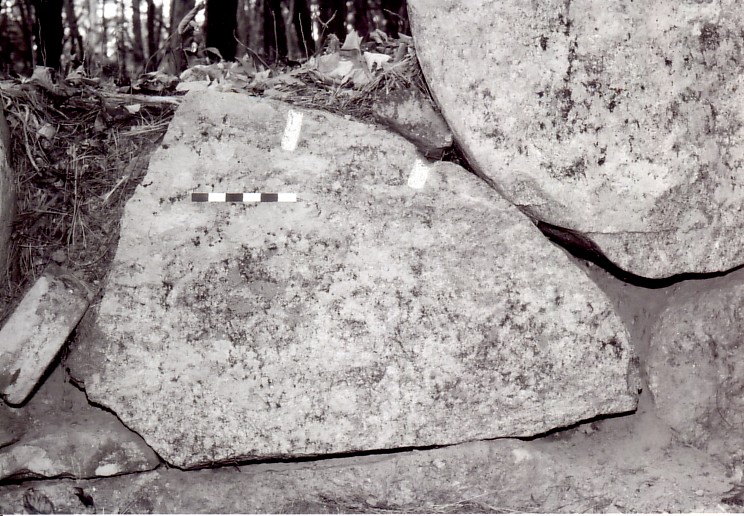 |
Field boulder split using an early plug & feather method. The foundation is circa 1790-1825.
(South Hampton, NH)
Plug & Feather Method - Commercial Version (1820-Present)
In this method small round holes were drilled every six to seven inches across the whole stone. This proved to be a major improvement over the earlier version that used 1 to 3 holes. By placing holes every few inches along the intended split a person was able to get regular blocks of stone. A regular block had all straight sides. Over time the half-round shim developed into a small half-round shim with a feathered or thinned out top that curled over. Hole sizes shrank a little to ¾ inches in diameter and down to two to three inches deep. The method of drilling and splitting was the same as the earlier method. Stone bars and blocks from approximately 1823 onward used this method which is so common throughout New England. (The dating of this method has been revised based upon new research in 2015. For more details click here) The oldest commercial use of this method is found on granite walls of the Waite Blacksmith Shop in Dunbarton, New Hampshire that dates to 1820. (For a complete report and photos see Waite Blacksmith Shop: a Piece of Stone Quarrying History (2024).
Basic Steps to Split a Stone
Step 1 - Drill a series of round holes along the intended line of fracture. The holes should be spaced every 6 inches. If using a hand plug drill or star drill remember to rotated the drill and 1/8 to 1/4 turn between hammer plows.
Step 2 - Insert a wedge (“plug”) between two shims (“feathers”) into each hole.
Step 3 - Lightly tapped each wedge along the line, one after another. repeat this process until a cracking noise is heard. then tap the wedges the rest of way in or pry apart with a crow bar.
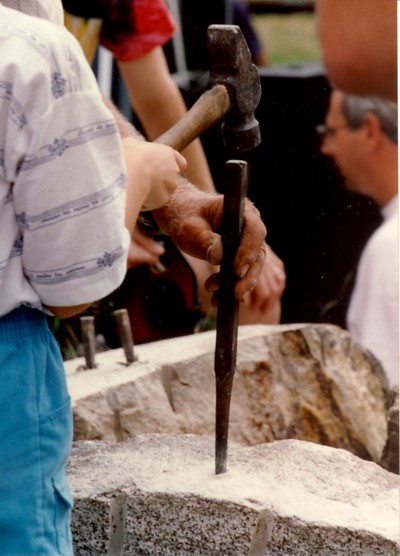
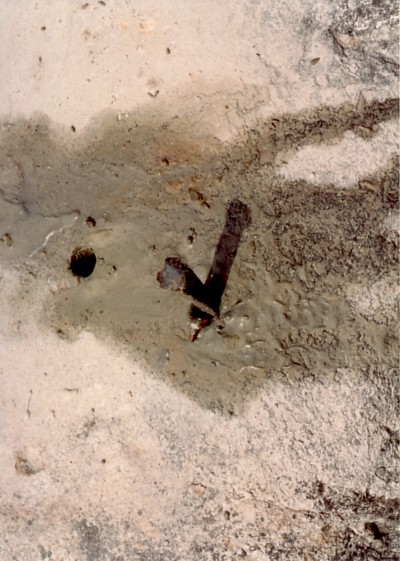
STEP 1 STEP 2
 |
STEP 3
Flat Wedge Hole
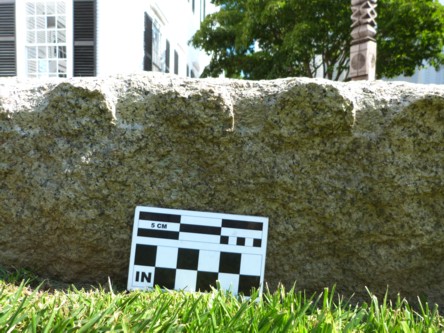
Flat wedge holes are as common as round holes. They are often times found in the same wall together and sometimes on the same piece of stone. The flat wedge hole method utilized a different type of cutting tool which was not exactly a drill. The tool was a cape chisel. It chipped the hole out rather than drilling it out. A cut away view on a split piece of stone shows a trapezoid shaped hole. A hole that is wider at the top than at the bottom. This hole is narrow usually a half inch wide when whole. The size varies but is around 2 ½ inches at the top, 1 ¾ inches on the bottom and approximately 2 inches deep. Holes were placed every four inches across the line of intended split. Flat wedge holes also had feathers but theirs were much thinner and a wedge. To split the stone apart the wedges were tapped in sequence along the row of holes. When a crack was heard, the quarrier waited for the stone to finish splitting on its own.
This method was developed prior to the summer 1800. The oldest dated examples are found in the foundation of the Unitarian Church in Newburyport MA. The foundation was built between July and October 1800. This method was phased out by the 1870’s and was forgotten.
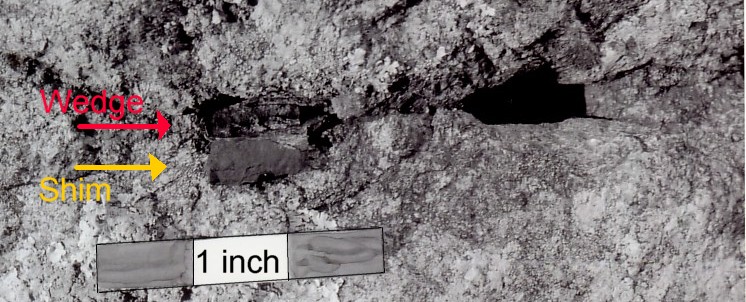 |
The only known example of a flat wedge method wedge and shims in hole.
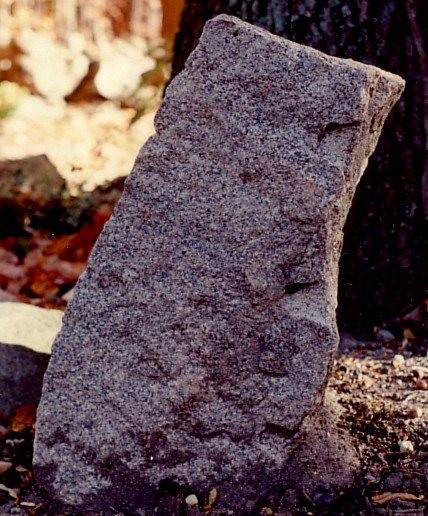 |
The trapezoid shape of a flat wedge hole.

The foundation of the First Religious Society Unitarian Church in Newburyport, MA was laid between July and October 1800. The upper courses of the foundation were built with finished granite bars quarried using the flat wedge method. This makes this the oldest firmly dated examples of the method. Click Here for Report.

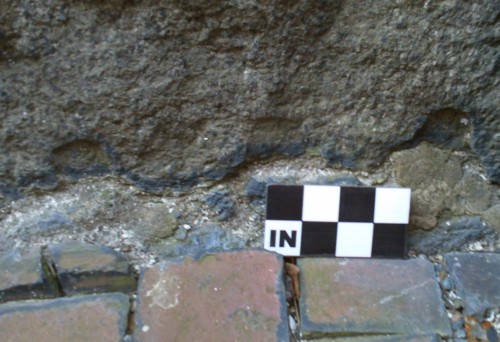
The Gardner-Pingree House, Salem MA built 1804 has flat wedge marks.
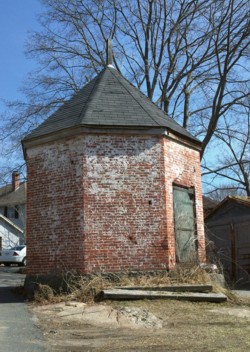
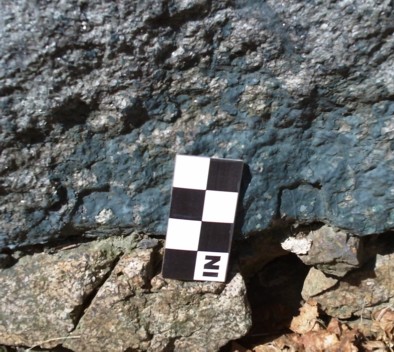
The Beverly, MA Powder House built 1808 has flat wedge marks.
It is on Appleton Avenue.
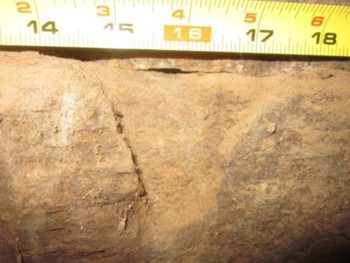
Circa 1805 barn foundation - Fremont, NH (click here for full report)
STONE QUARRYING Stone Splitting Methods

